On arrows or crossbow bolts, the fletching is used to make the pointy bit of the arrow hit the target first. Without fletching an arrow won’t fly straight and could hit a target sideways, but with LARP arrows having such big heavy heads, they will actually turn midair and hit the target with the backend.
So arrows need fletchings, and LARP arrows really need big fletchings.
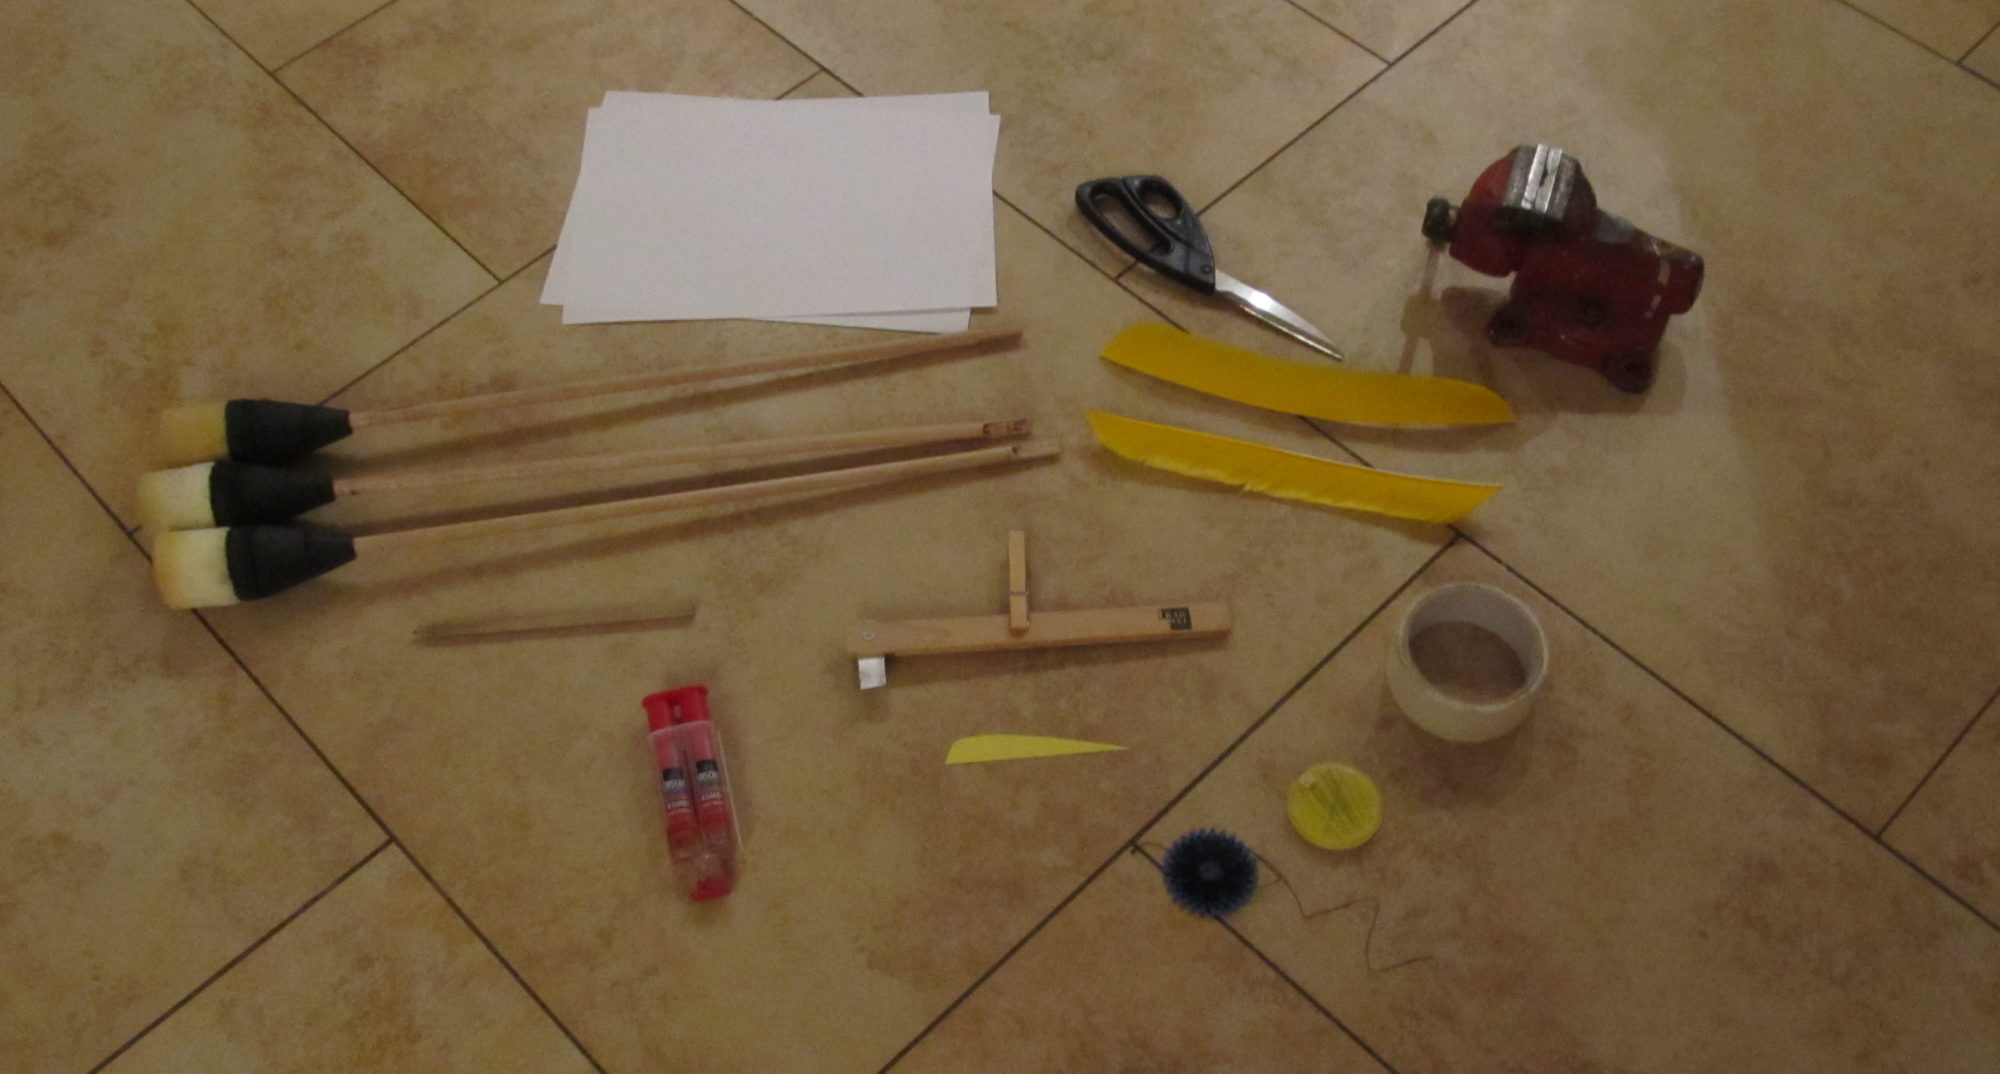
You will need:
- Something to make the fletching of (I use goose feathers, you could use other materials)
- Arrows
- Scissors
- Needle and thread for binding
- A mold / template
- Glue
- A clothespin to hold the feather when it is glued on the arrow
- Pencil
- Masking tape

Making a template
You will need to make a template because you need to make two very similar feather each side of your arrow. If they are to uneven the arrow will veer off in one direction. You can make a template out of paper, cardboard or plastic.
Sizing
I make my fletchings slightly longer than the cross-section of the arrow head. The height of the fletching isn’t so tall that it sticks past the arrow head.
For example, I would use the following dimensions:
The cross-section of the arrowhead is a minimum of 5 cm, so the length of the fletching is about 6 or 7 cm. The height is 0.5 * 5cm – 9 mm (half the cross-section minus the diameter of the shaft) so about 2 cm.
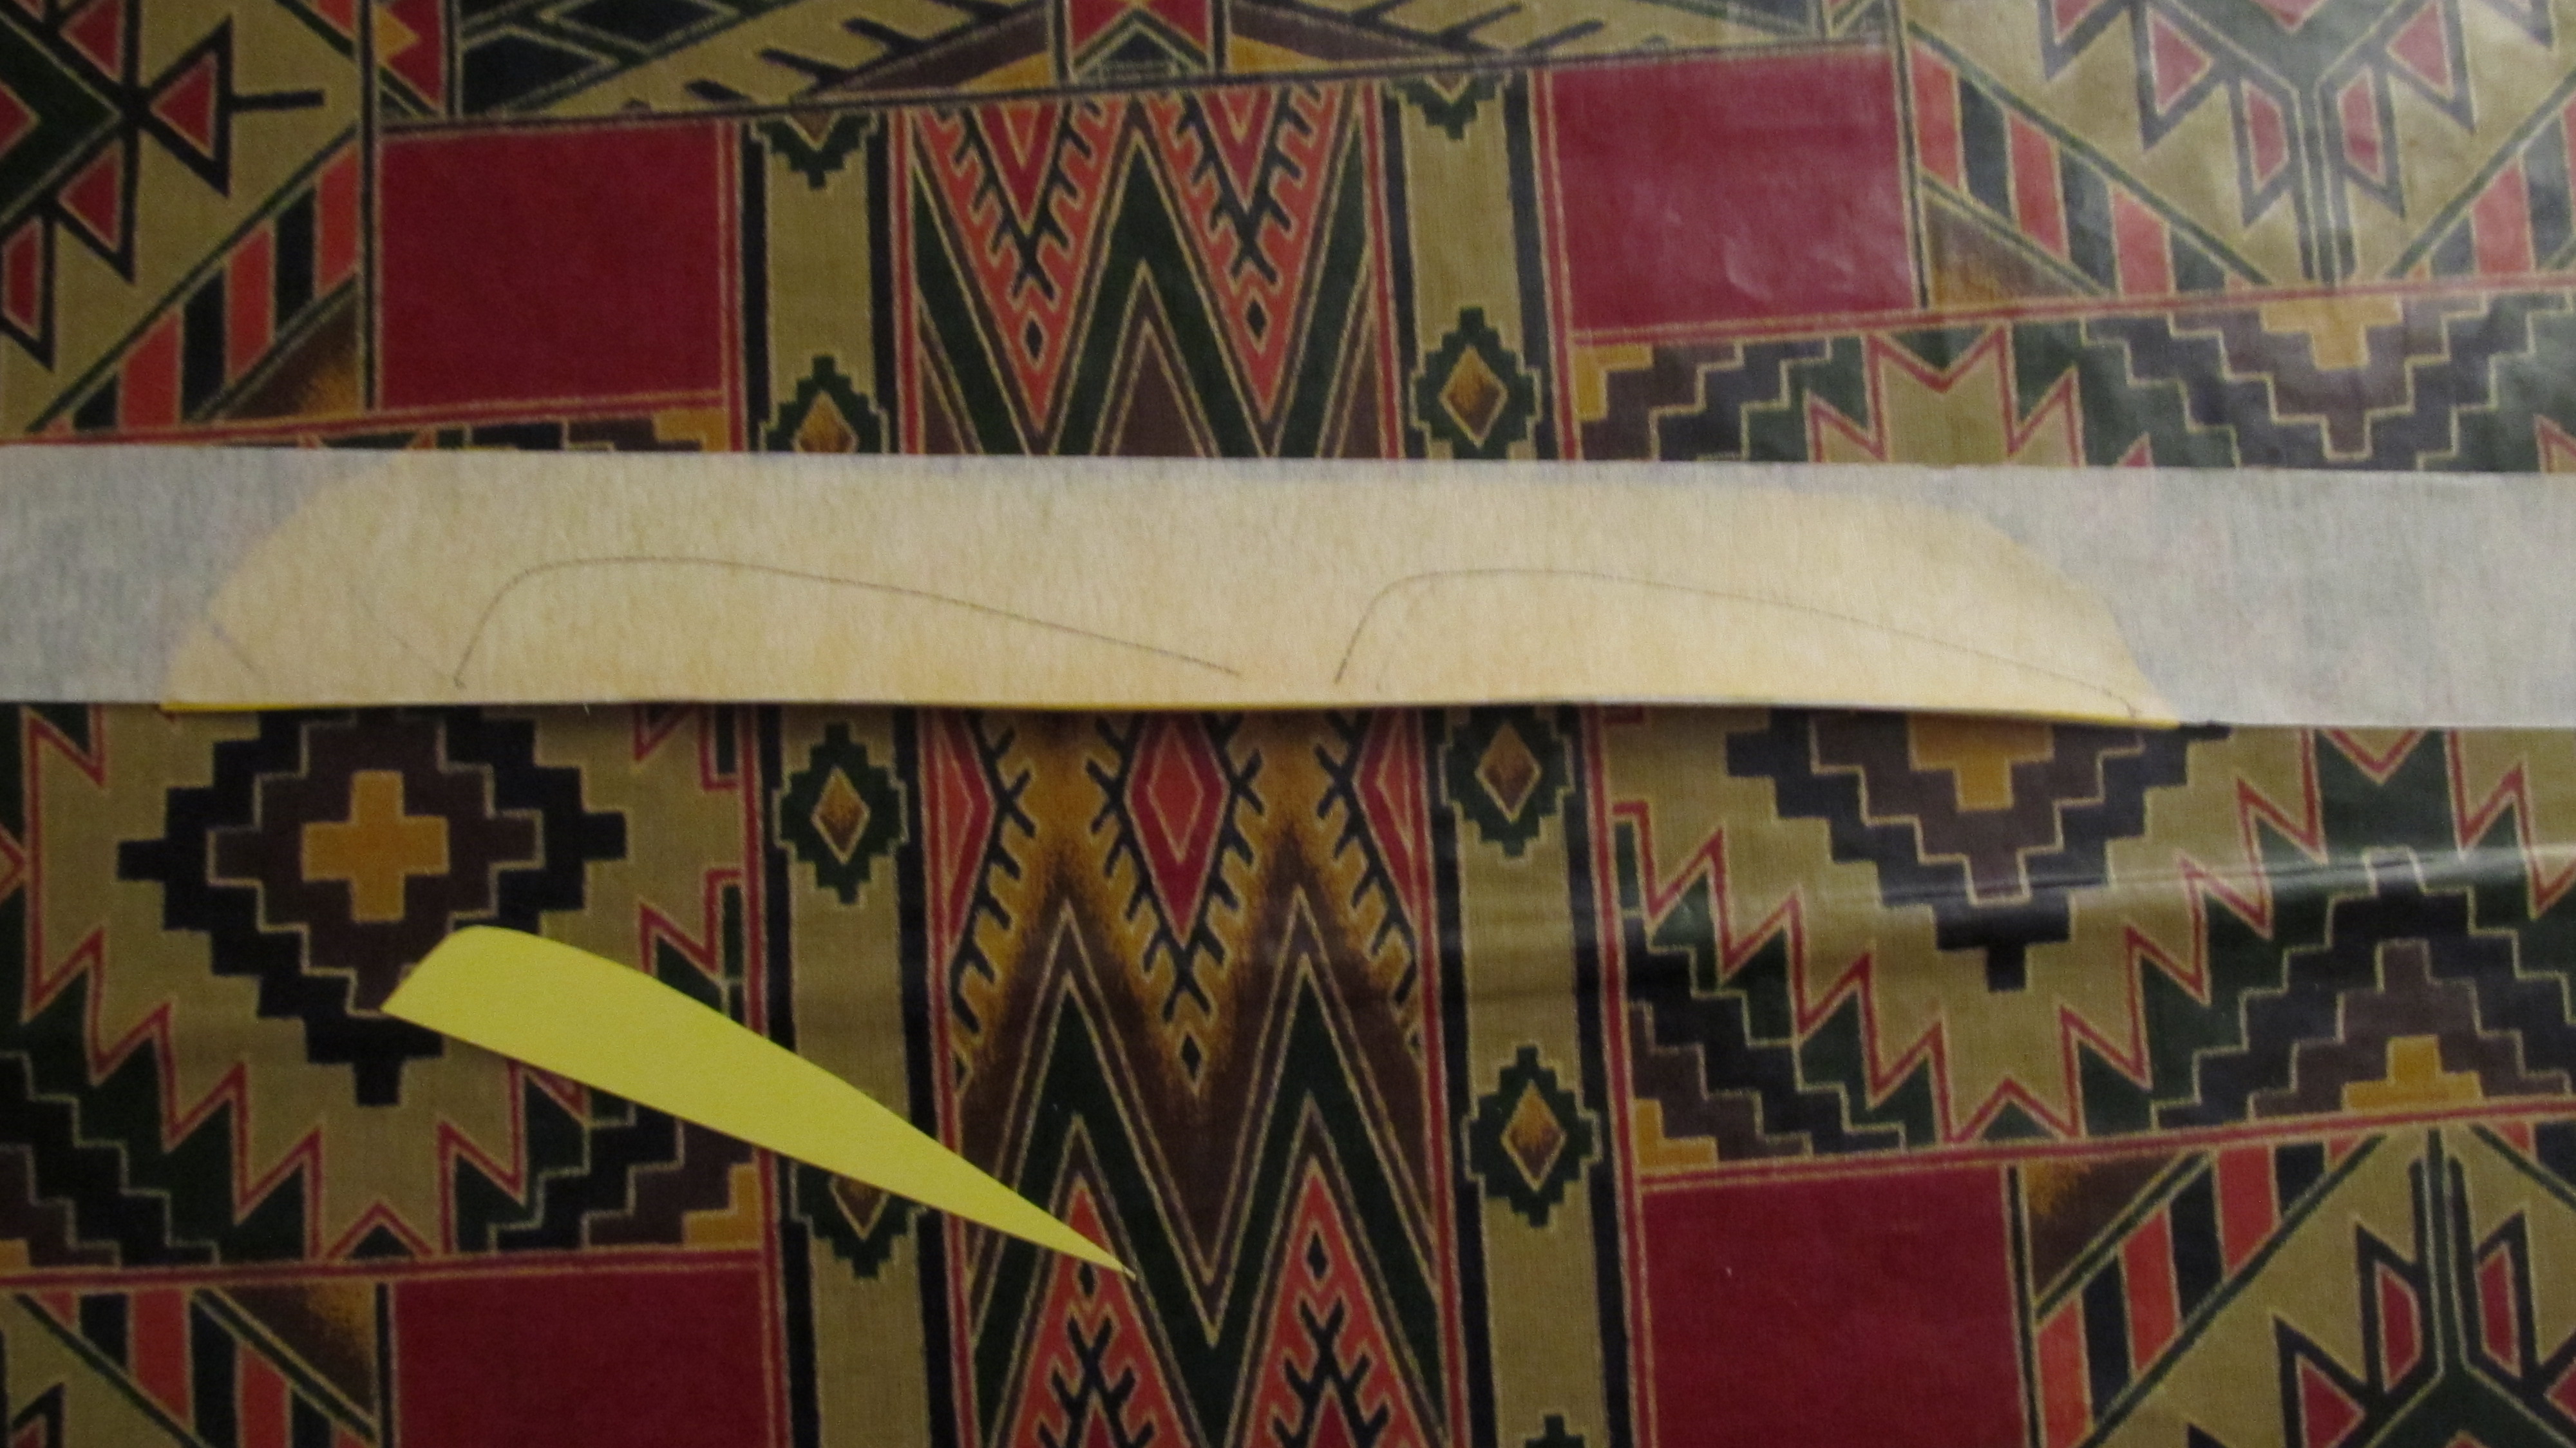
Shaping the Feathers
Stick some masking tape on the feather. This will make the drawing and cutting easer. Put the template on the masking tape, draw and the cut with some scissors, remove the masking tape.


Marking Guidelines

First mark out where you want to have the feathers. You do this by using a pencil and laying the arrow on a flat service and run the pencil along the shaft. Do this both sides (bolts only have two feathers) and flip the arrow and do this again. You should end up with two pairs of parallel lines on both sides of the shaft.
Gluing the Fletching onto the Bolt
I use a gluing aide and a vise. The gluing aide is to hold the feather when glue is setting. And a vise to hold the arrow nice and steady. The aide is made of two pieces of wood a cloth pick. Just to keep the feather straight. I use two more clothes picks to hold this to the shaft. Repeat on the other side.
Binding
When you have glued the flights. Then you apply the binding. The binding service a decorative purpose and a structural one.
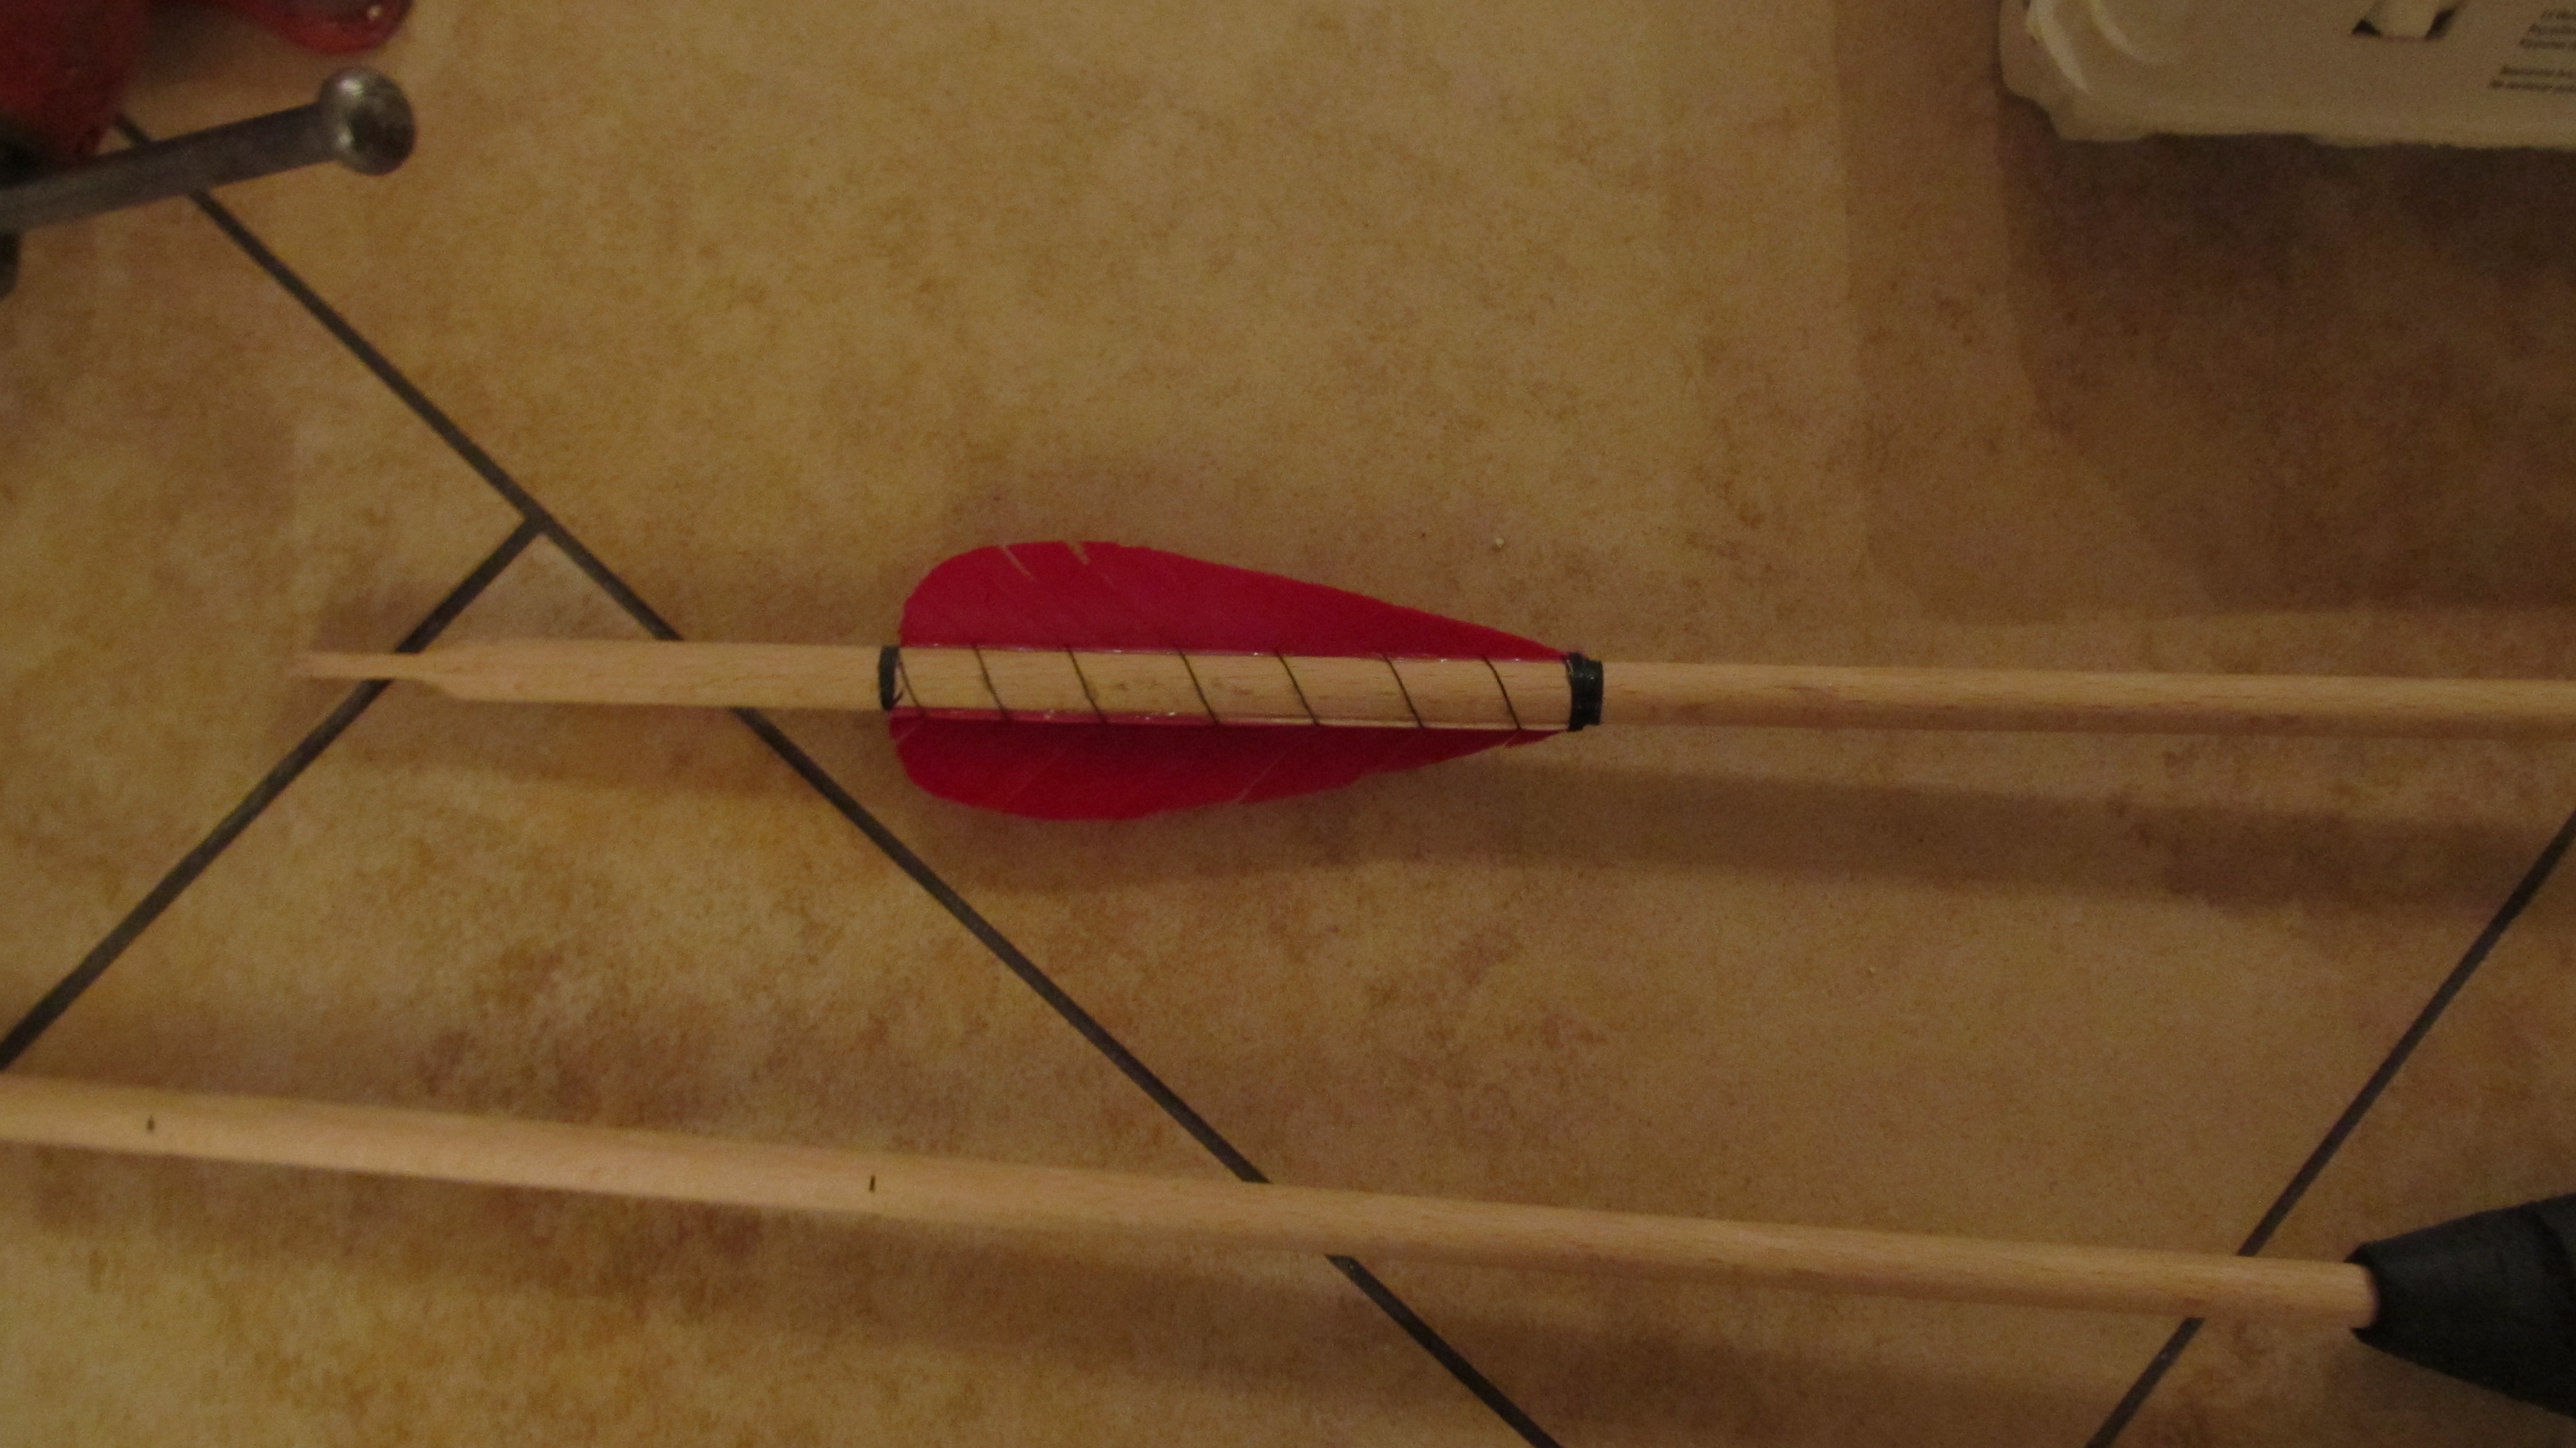
Start with a simple knot and wind tightly towards the feather. Then use the needle to part the filaments, get the thread right in low at the base of the filament.
If done correctly, the feather should close. If it doesn’t, then probably the thread isn’t low enough, just redo it tighter. At the end just wind tightly and a few knots and some glue to stop the thread form unwinding.
And now you have a fletched bolt.