
Have you ever wanted a larp safe light up saber? Well, today you benefit. Before we begin though, some notes:
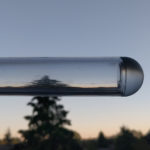
- No light up saber will look good in direct sunlight. During the day, this will look like a white stick. Indoors, in shadows, or at dusk, it will look pretty good. At night, it will look great. You may want to consider making a dayblade. Use colored plastidip or add some painting between steps 9&10. It is also possible to paint lightly and create a blade that has properties of both day and glow blades, though brightness will be compromised.
- Though most of our guides here at foamsmithing.com are geared towards Belegarth/Dagorhir style weapons, this lightsaber is unlikely to pass safety check at heavy combat games. It is meant for a light-touch and no-thrusting game.
- A debt is owed to Andrew Nakashima and other players at The Galaxy Awaits larp game. I didn’t invent these methods, just innovated on work that had already been done.
- This design is still new, and will see ongoing development. We had previously described methods to create a “cap” layer of foam for the end of the blade. We no longer believe that necessary with proper gluing and plastidipping.
Summary:
You’re going to be starting with a commercially made “stunt saber.” These use an LED module in the hilt to illuminate a 1″ diameter polycarbonate core.
You wrap translucent polyethylene foam around a clear core it, and seal it with Plastidip. The biggest cost will be the saber hilt, but you will not be modifying the hilt, only the blades. LED sabers have a socket to fit the blade, and have no wiring or glue connection. This allows you to easily swap out for spare blades, or change the length of your weapon as desired.
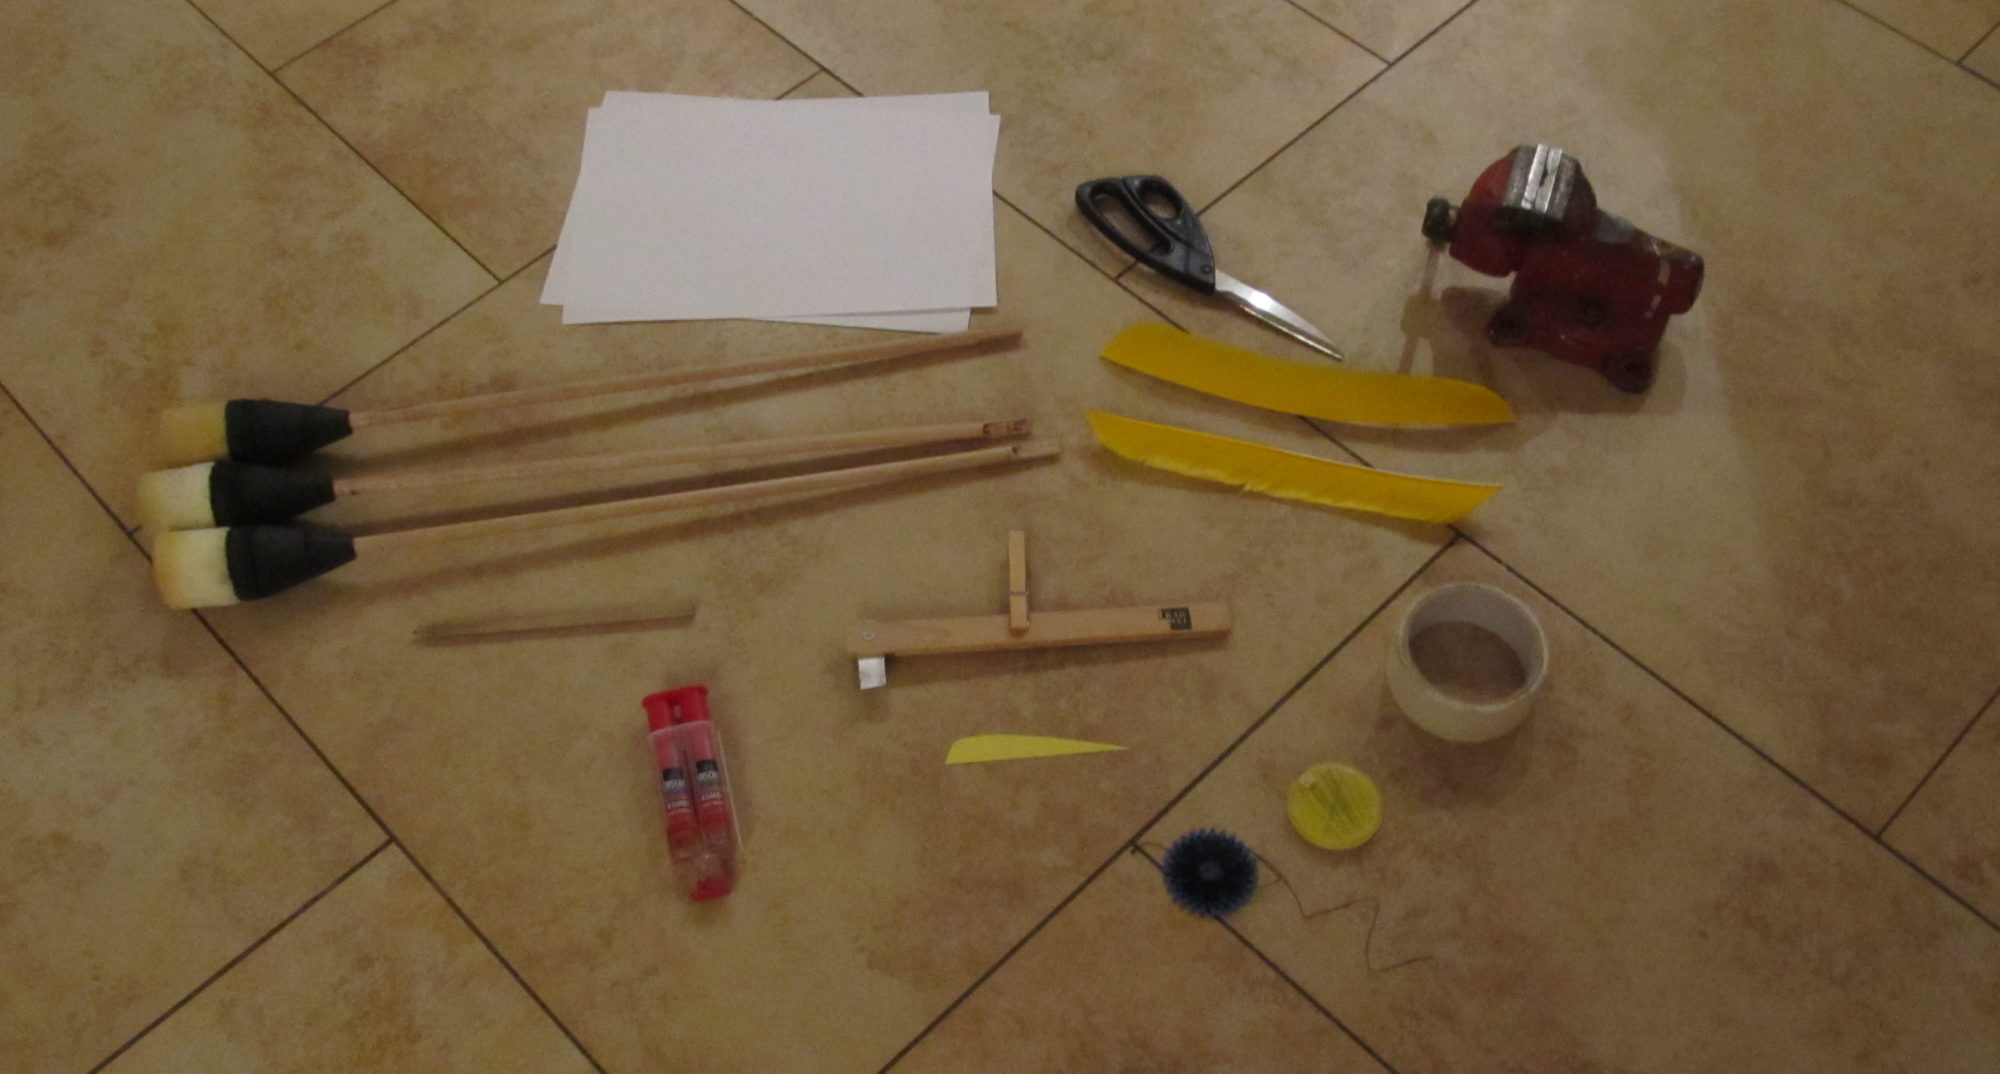
Materials needed:
-

An Ultrasaber, with added leather wrap An LED lightsaber. The three biggest manufacturers seem to be Ultrasabers, Saberforge, and Vader’s Vault. There’s also many homemade with parts from The Custom Saber Shop. There’s a large knowledge base for saber building, so don’t be afraid to google around. You can spend as low as $80 (for bottom-of-the-barrel sabers) or well into the hundreds for sound and brighter LEDs. I recommend springing for the upgraded 12 watt LEDs. Sound is up to you (it doesn’t affect our tutorial). Just make sure your saber hilt uses a 1″ diameter polycarbonate core. Foamsmithing.com doesn’t endorse any one maker, except to say that Ultrasabers will ship very quickly, but has more basic designs. Saberforge and Vader’s Vault have more attractive designs, but also higher costs and production time.
- A clear polycarbonate core. These are commonly sold in 1/8″ and 1/16″ wall thickness. I’d suggest the thicker 1/8″. From saber makers, they’re often sold with diffusing layers on the inside. Your foam will do that job, so you don’t need the diffusing layer. That means you can order from cheaper sources, such as TAP Plastics. Length doesn’t matter for this tutorial, it’s 100% personal preference. The film sabers were about 36″ in blade length.
A clear core with an installed end-cap - An end cap (aka a blade tip) for your polycarbonate core. Make sure you get one that matches the thickness of your walls. These have a mirror to improve the glow of your saber, and the end cap makes it more durable for larp use. Some saber makers sell cores with these caps already attached. If not, you can purchase them for a relatively small amount. If you have to add the cap yourself, you’ll want acrylic cement to attach it, though other strong glues could also serve.
- Translucent (whiteish) polyetheyene foam. This is the type of foam used in packing supplies. We’ve found it sold as moving supplies (from a U-haul store) and as floor underlayment (from a Home Depot or Lowe’s). The moving supplies were pre-perforated, which caused depressions in the final product. The underlayment is a much better choice. One supply had a smooth plasticy finish, but this doesn’t seem to be a problem. Most sources of this foam are rather thin (3/32″) but that’s ok. I wouldn’t recommend using foam thicker than 1/8″, as it get’s hard to wrap around a core at this thickness.
- A spray glue, such as Super 77. We do not recommend DAP or other manually applied glues. They are more difficult to work with in large surface area project, as they are not as translucent as Super 77. You need an even and thin application of glue between each layer of foam.
- A heat gun or hair dryer to smooth down seams.
- Clear Plastidip (in a spray can). Like the glue, this needs even application. See Plastidip Artists on facebook for expertise in working with Plastidip.
- Frog Juice, Through the Roof, or other sealants for Plastidip. This is important to reduce the friction between blades when you battle. Through the Roof takes more than a week to cure, which should be considered if you’re working on a time crunch.
- Rubberbands.
- Razors, scissors, straight edges, or whatever else you need to cut foam.
- A spray area with protection from overspray and lots of ventilation. You will also want a respirator. These chemicals are not going to be good for you to breathe in, so protect yourself.


Process:
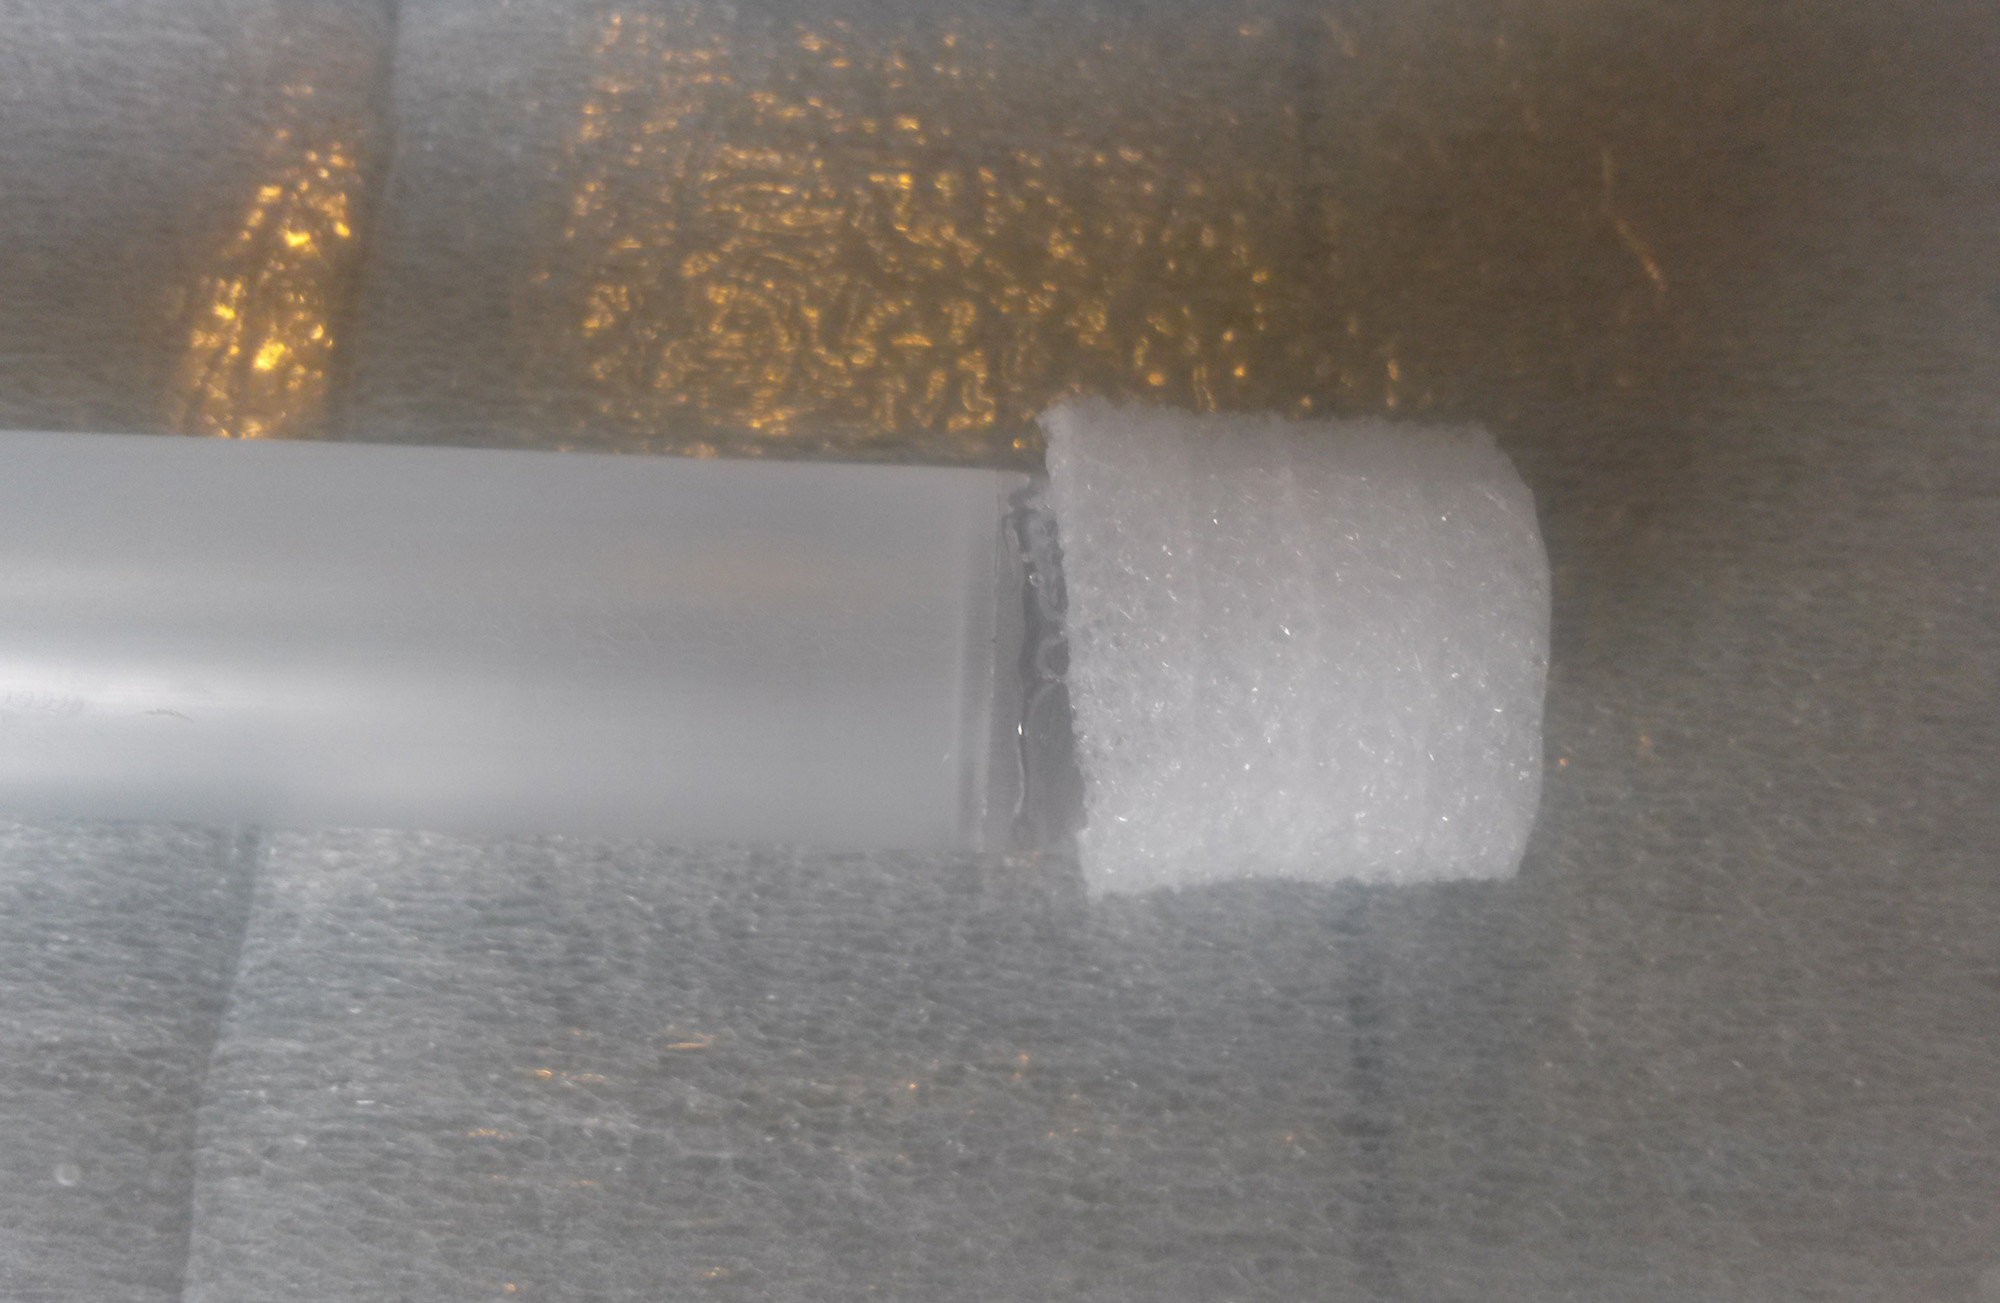
- After gluing in the end cap to the core, add a chunk of clear foam to the blade tip. You can attach it with the spray glue, or something stronger like E6000, Barge, or DAP. Just make sure it’s a glue that dries translucent, and not opaque. You’ll want to round out the inside of the chunk so it fits better to the blade tip. The foam should not be wider than the blade core. It’s best to use thicker foam than your sheet foam. Packing foam from electronics is translucent and easy to carve.

Step 1, adding a foam tip to the core - You’ll need to mark where the foam should end at the base of the blade. Fully insert your blade into the lightsaber hilt. Use a pen, tape, or some other method to mark where the blade emerges from the hilt. Depending on your hilt’s design, this is likely 2″-5″ inches from the end of the core.
- Cut your foam to size. The length will have to run from the mark you made in step #2, to about 3″ past the end-cap of your core. More is ok, you will be cutting it off excess anyways. The width will need to be a minimum of 24″ wide, though up to 36″ is ok.. Lay your blade down next to the foam. If your foam is not wide enough, you can use two narrower sheets. Just wait until the first is dried and secure before you attempt another layer.
- Lay out your first sheet of foam, and spray it down with your spray glue. Get it nice and even, and avoid puddles. Pay special attention to the side edges, make sure you don’t miss any. Let the glue try a little, until it gets “tacky”. This will make step #5 easier. You may also benefit from spraying a light layer onto your core.
- Align the blade with the edge of the foam, and carefully begin rolling the blade into the foam. You want one end of the foam to match the mark you made in step #2. The other end should overhang past your blade tip. Work carefully to avoid wrinkles and keep everything aligned.

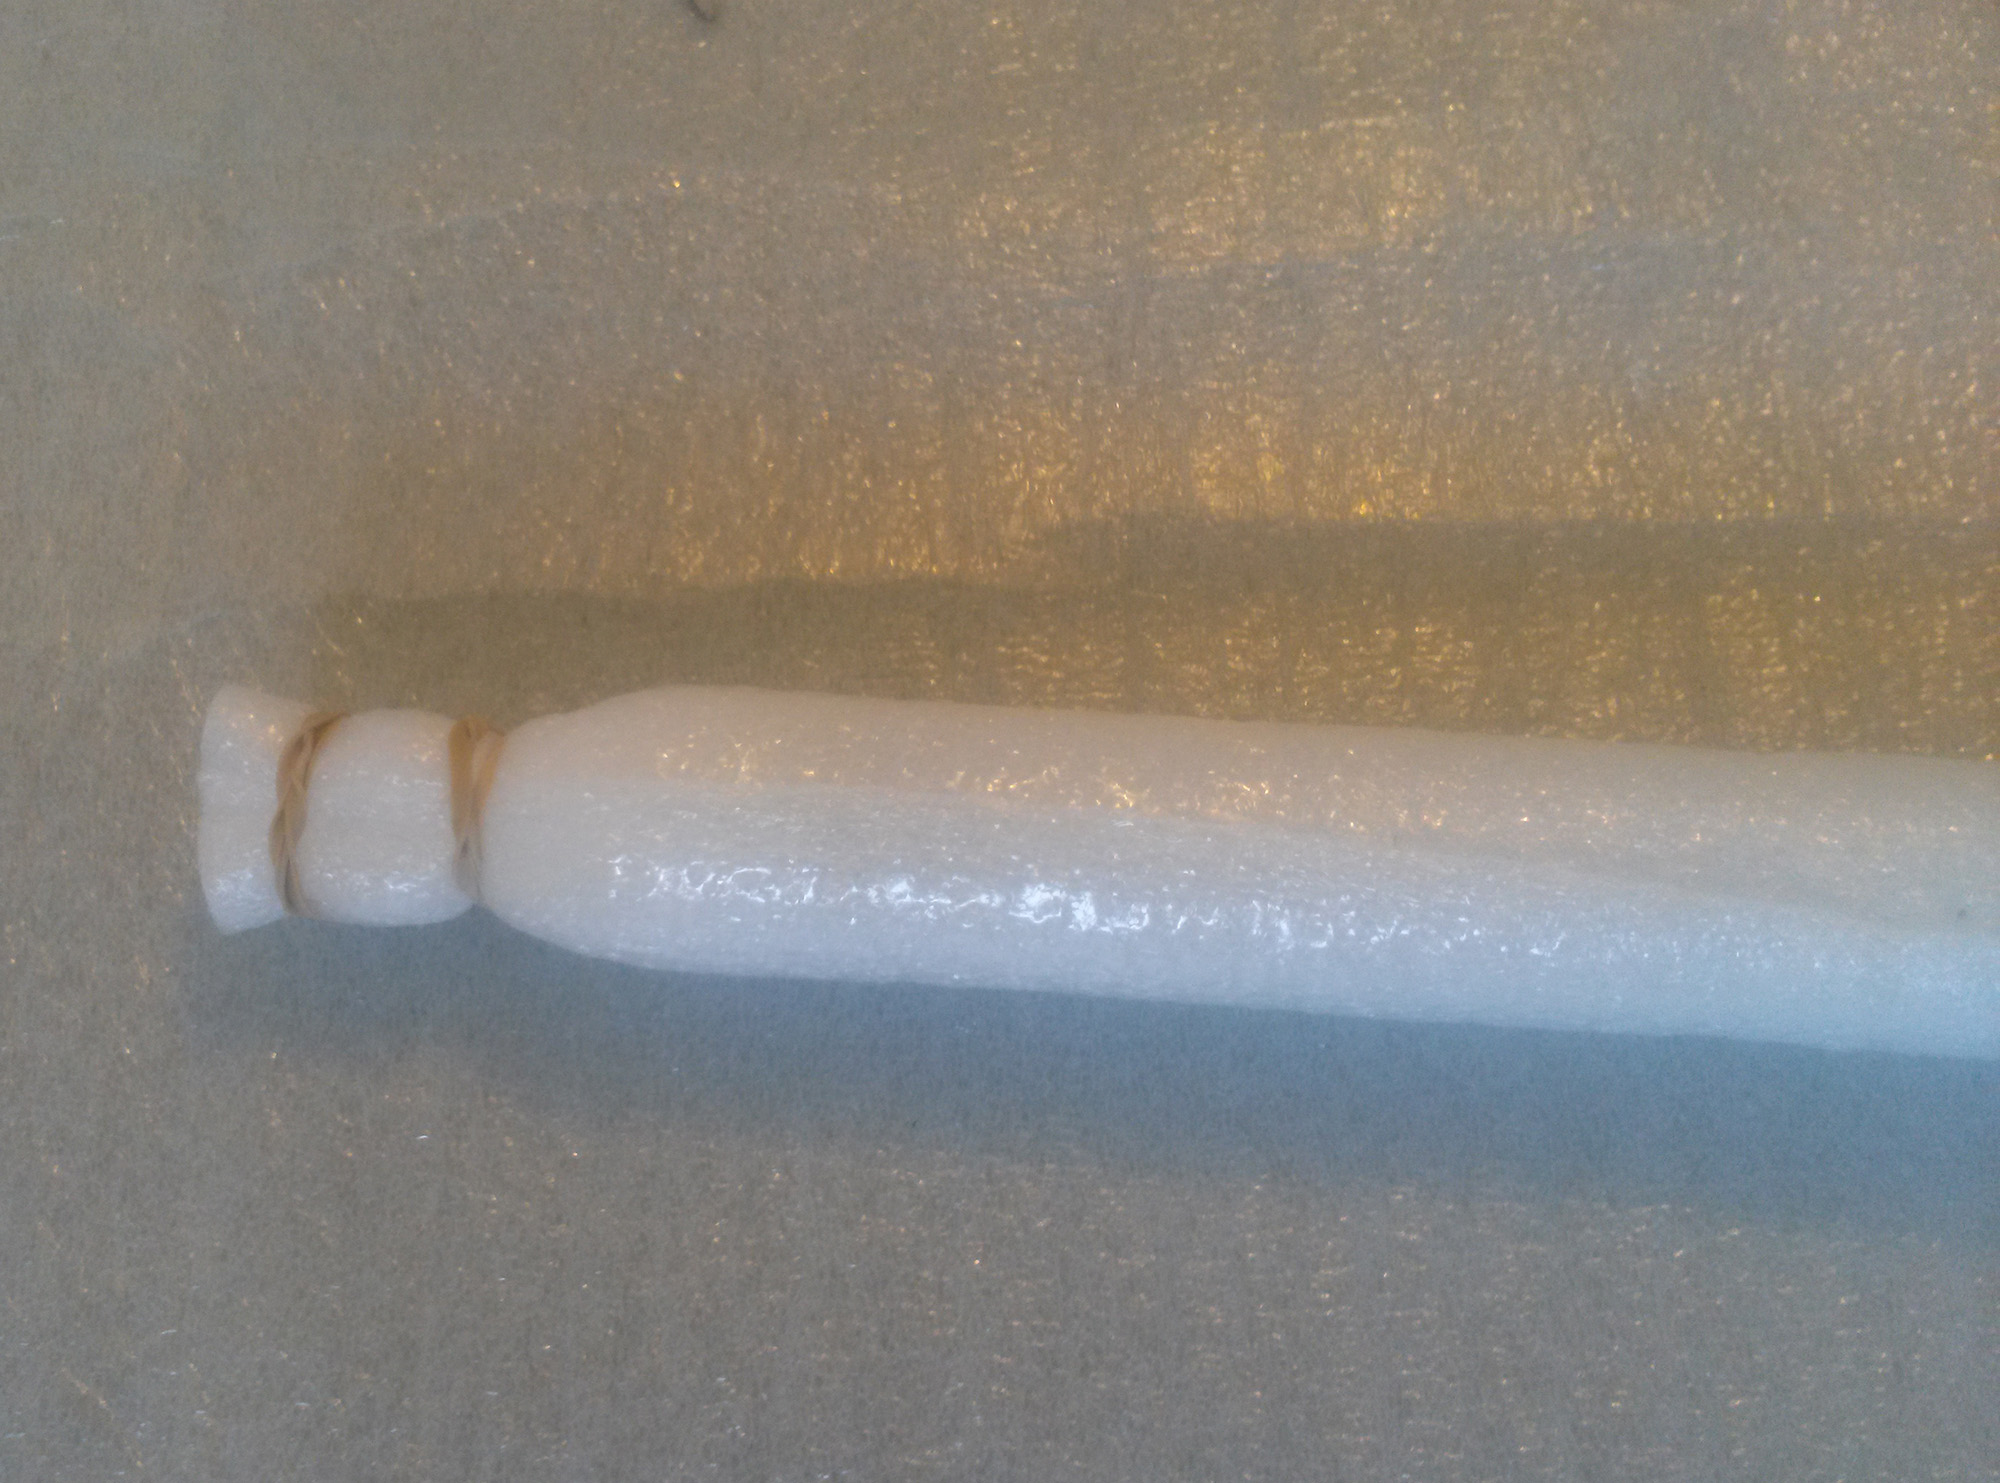
Step 5: Rolling the blade into the foam. This should create at least 3 layers - Use a rubberband (or two) to securely wrap the foam overhang . You want the foam to be securely affixed to itself. The goal is to minimize air gaps between the cap of your core, and the foam layers. Roll the rubberbands down as close to the end cap as comfortable. You will want this to dry thoroughly overnight before the next step.
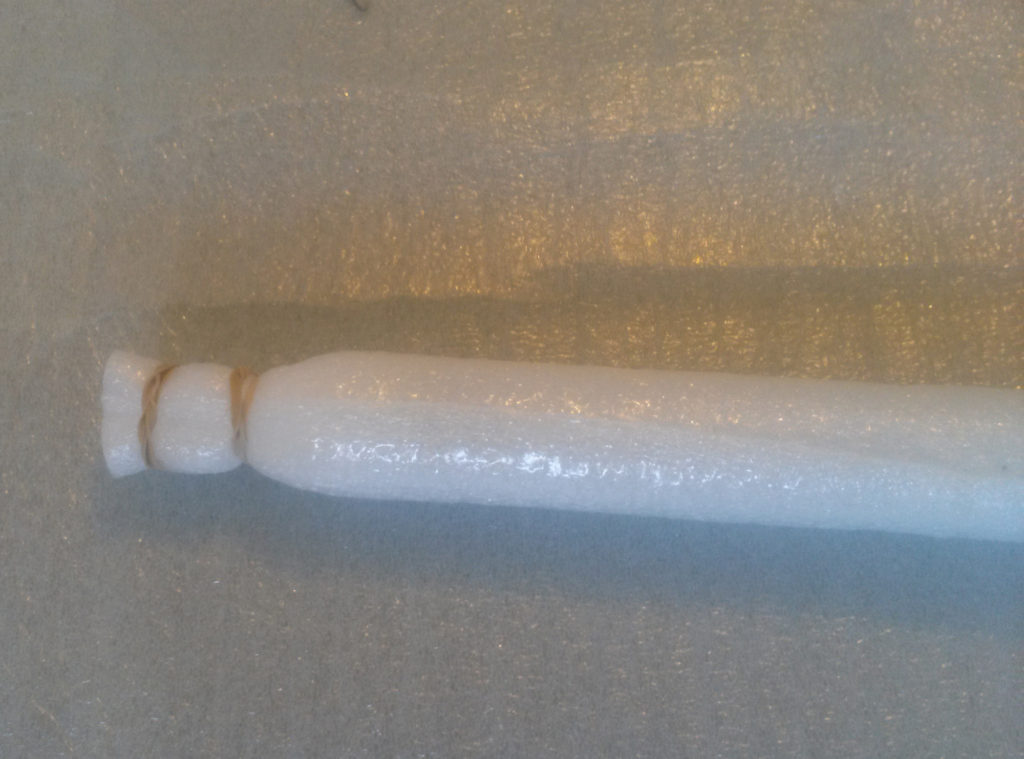
Step 6: Rubber bands securing the overhang foam - Once the glue is dry, remove the rubberbands and use a sharp razor to trim off the excess overhang from your blade tip. You want to trim it into a nice rounded saber shape. The foam on the very tip will be held together by the glue. If you cut too low, the foam will separate. If you cut too high, it will appear “nippleish” and will be too firm.
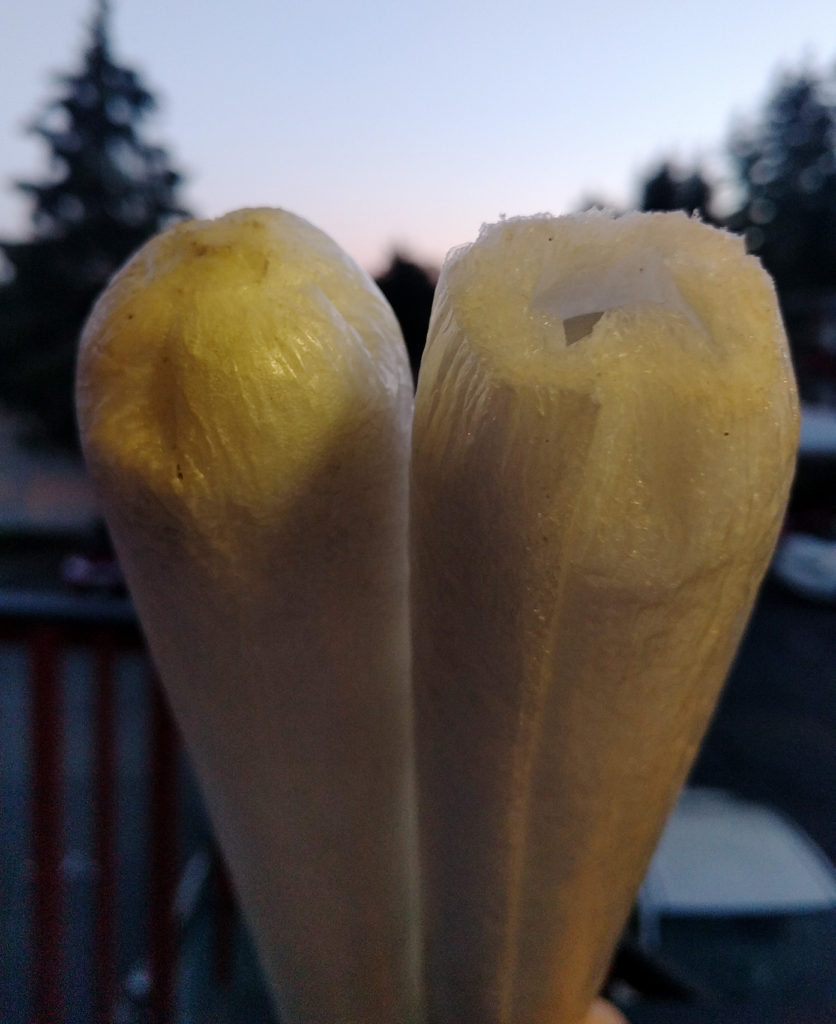
Two blades after step 7. One properly trimmed, one trimmed too close to the core. - Use the heat gun/hair dryer to minimize the seam down the blade. The heat will soften the foam cells, so use it lightly and compress the seam with your hand. You may wish to use a glove or other layer of protection if the foam is too warm to manipulate. Avoid excess heat, you only need to warm the foam for a few seconds.
- It’s time to Plastidip your blade! Work evenly, and steadily. Spray down the length of the blade, rotate, and spray again. Let it dry for 15 minutes in between layers. Apply at least 3 layers, but judge it yourself if you need more. Apply extra Plastidip to the tip and seam, as these are the weakpoints. It should provide a durable coating to your foam. While your saber is drying, avoid laying it down. It’s best to have a stand, clamp, or person hold it upright as it dries. You can insert a small rod or dowel into the blade if it makes it easier to grasp.

Step 9: applying plastidip - Apply your sealant in a similar manner as your Plastidip. You should need fewer layers than step 9, but make sure you cover your entire blade thoroughly. This sealant will reduce friction, which would otherwise tear your blade apart as you fight!
- Your blade will dry fairly quickly, but give it extra time for everything to cure before hitting it against another blade. Your glue, Plastidip, and sealant will be fragile for a time, so don’t rush out and start hitting each other. That doesn’t mean you can’t spin it around yourself though! Turn it on, see how it looks!